DIY Valentine’s Day Mini Sessions | Arizona Photographer
A few years ago when me and Matt were still newlyweds and we didn’t have any kids, I turned our bedroom into a studio for some DIY Valentine’s Day Mini Sessions. I went all out. I removed all the furniture, blew up at least 50 balloons, and cut out 100 paper hearts. I recruited some cute kids from our nursery class at church and some family friends and captured some Valentine’s Day magic.
Those sessions were super fun but they were a little excessive… I mean I don’t want to remove all my furniture anytime I want to do a quick holiday themed photo session. So this year I wanted to show you how to get the same great results but on a bit smaller scale.

DIY Valentine’s Day Mini Session Set Up
Find good light
There’s really only one spot in our current house that gets good light and that’s in Emi’s room. For the very best light for a large window with an open wall (or a wall where the furniture can be moved easily) either directly across from it or to either side. For this session our window was on the wall to the right facing North.
North and South facing windows will get fairly consistent light throughout the day whereas East and West facing windows will do better in the mornings and evenings respectively. When you’ve identified a good spot I recommend watching the light for a day to identify when the best time of day to shoot will be.
Supplies
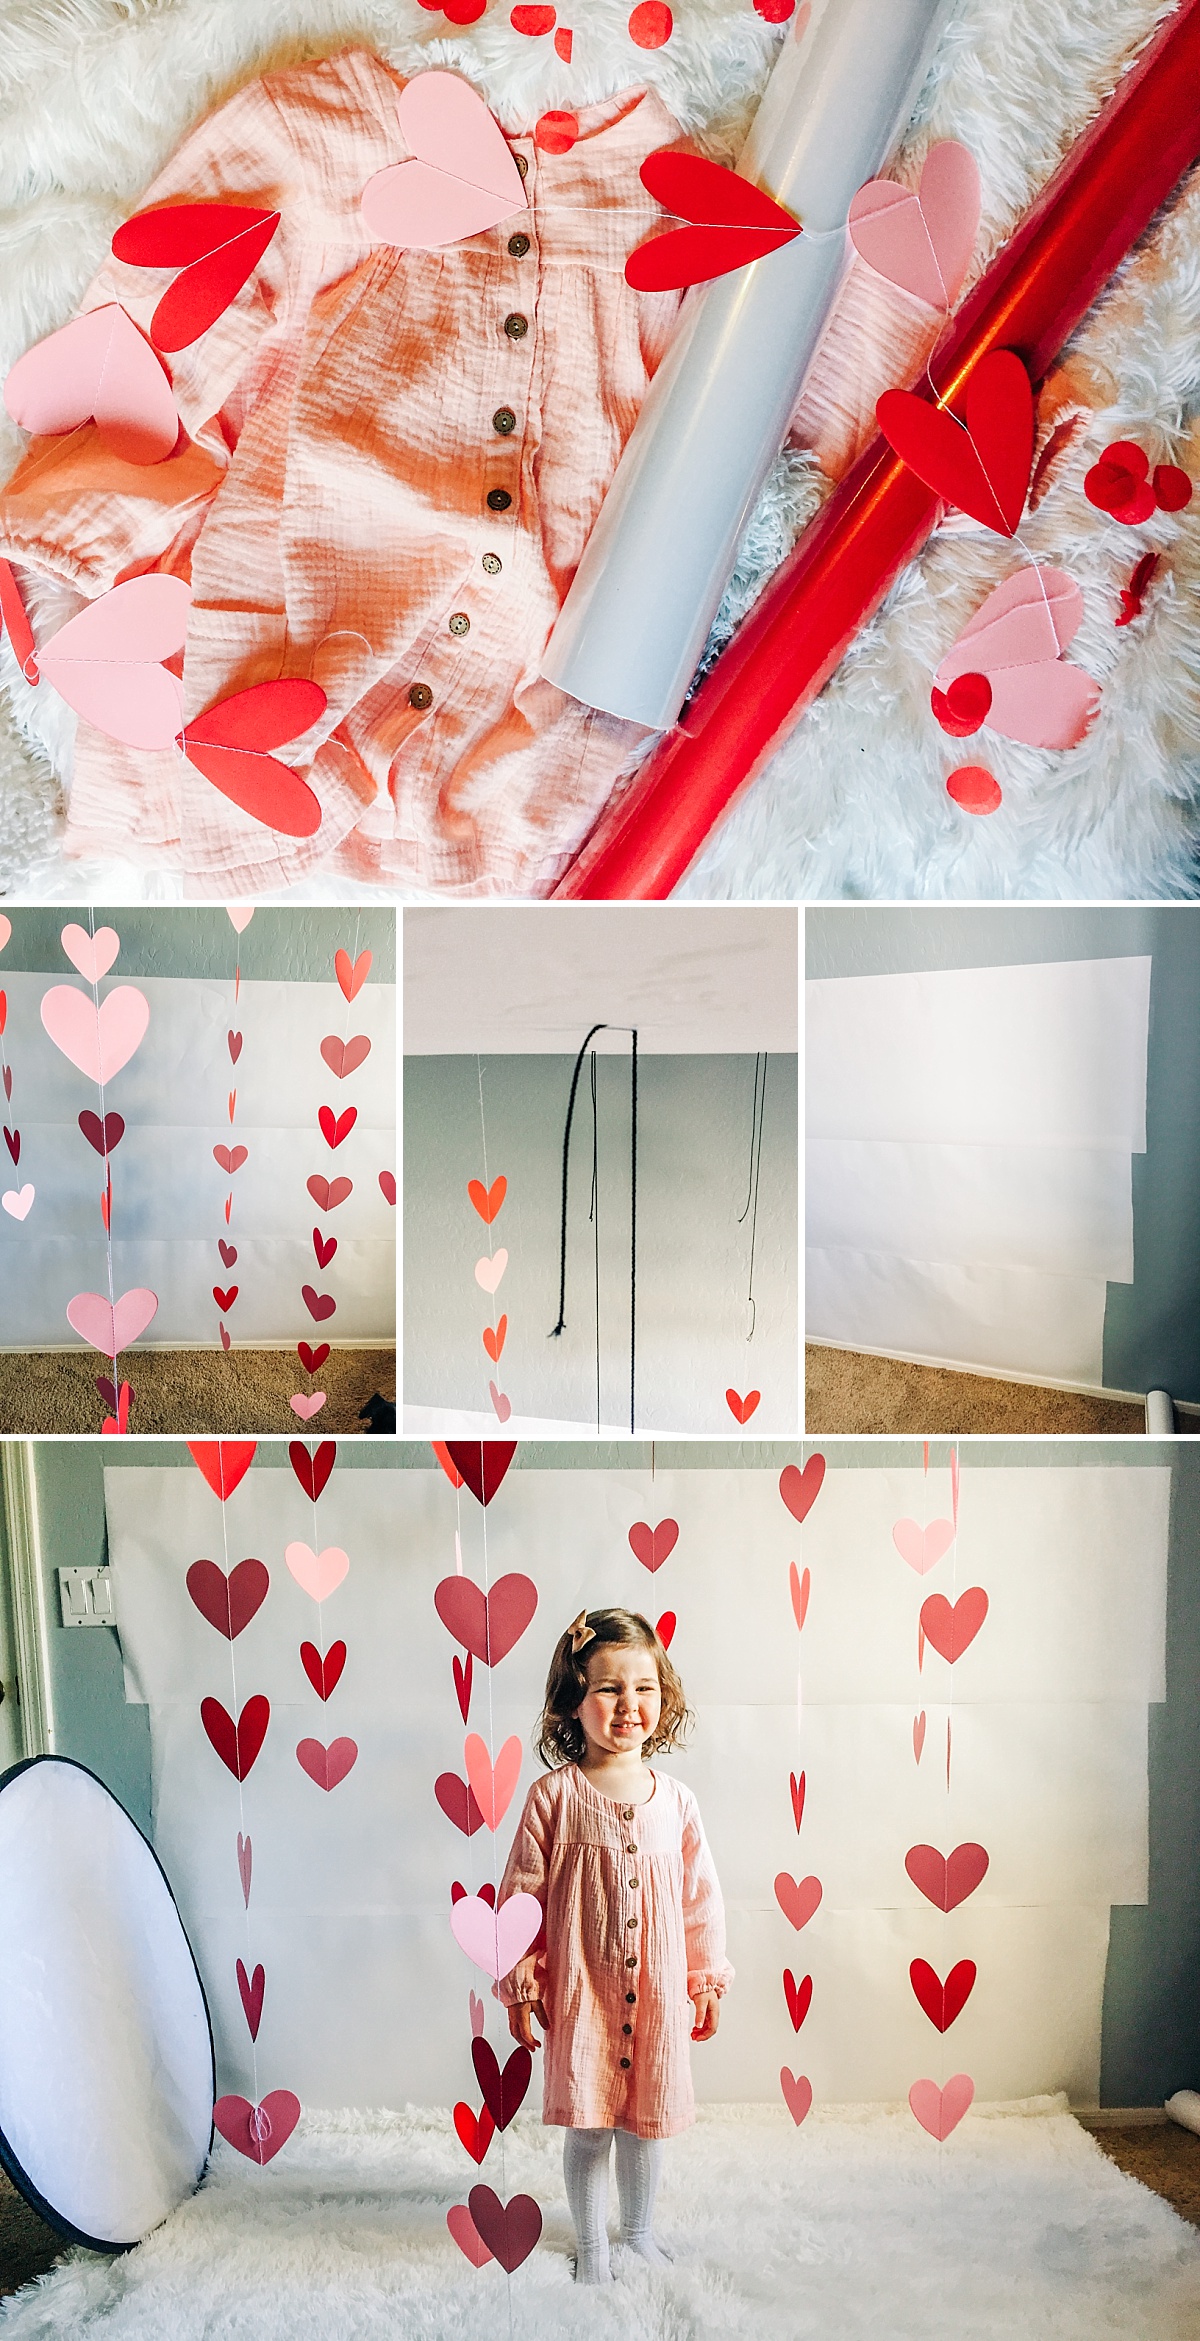
The next thing you’ll need to do is gather any needed supplies. For this session I used the following:
- Red, double sided wrapping paper
- White butcher paper – I accidentally ordered a roll that was only 18 inches wide so I had a lot of seems. This link is for a 48 in wide roll for much better coverage.
- Confetti
- Heart garland – they come in a pack of 8
- Cute dress in Valentine’s Day colors – These dresses run short! I ordered Emi a size up 5T when she’s usually in 4T to make sure it was long enough. I LOVE these dresses. I haven’t tried to wash it yet but the quality seems good and I’d love to get one in every color for my client closet.
- Reflector – Because I was shooting at a 90 degree angle to my light source I wanted to have something bouncing light back on Emi to make sure one side of her wasn’t in complete shadow. I used my photography reflector but you could pick up some poster board at your local store and it would work just as well. Those three sided cardboard presentation boards work really well! I just make sure it’s white to reflect bright, clean, light!
- White Blanket – Our carpet is probably due for replacement and I wanted to keep my pictures bright and white so I threw down this blanket to act as the floor for our session. Emi loves laying on this blanket because it’s so soft.
Set up
- Clear the wall you intend to use for you DIY Valentine’s Day Mini Session backdrop.
- Tape up your white butcher paper. By the way, if you already have white or off white walls you can forego the butcher paper and just use your bare wall. Our walls happen to be blue which isn’t super Valentine’s-y so I wanted to cover it.
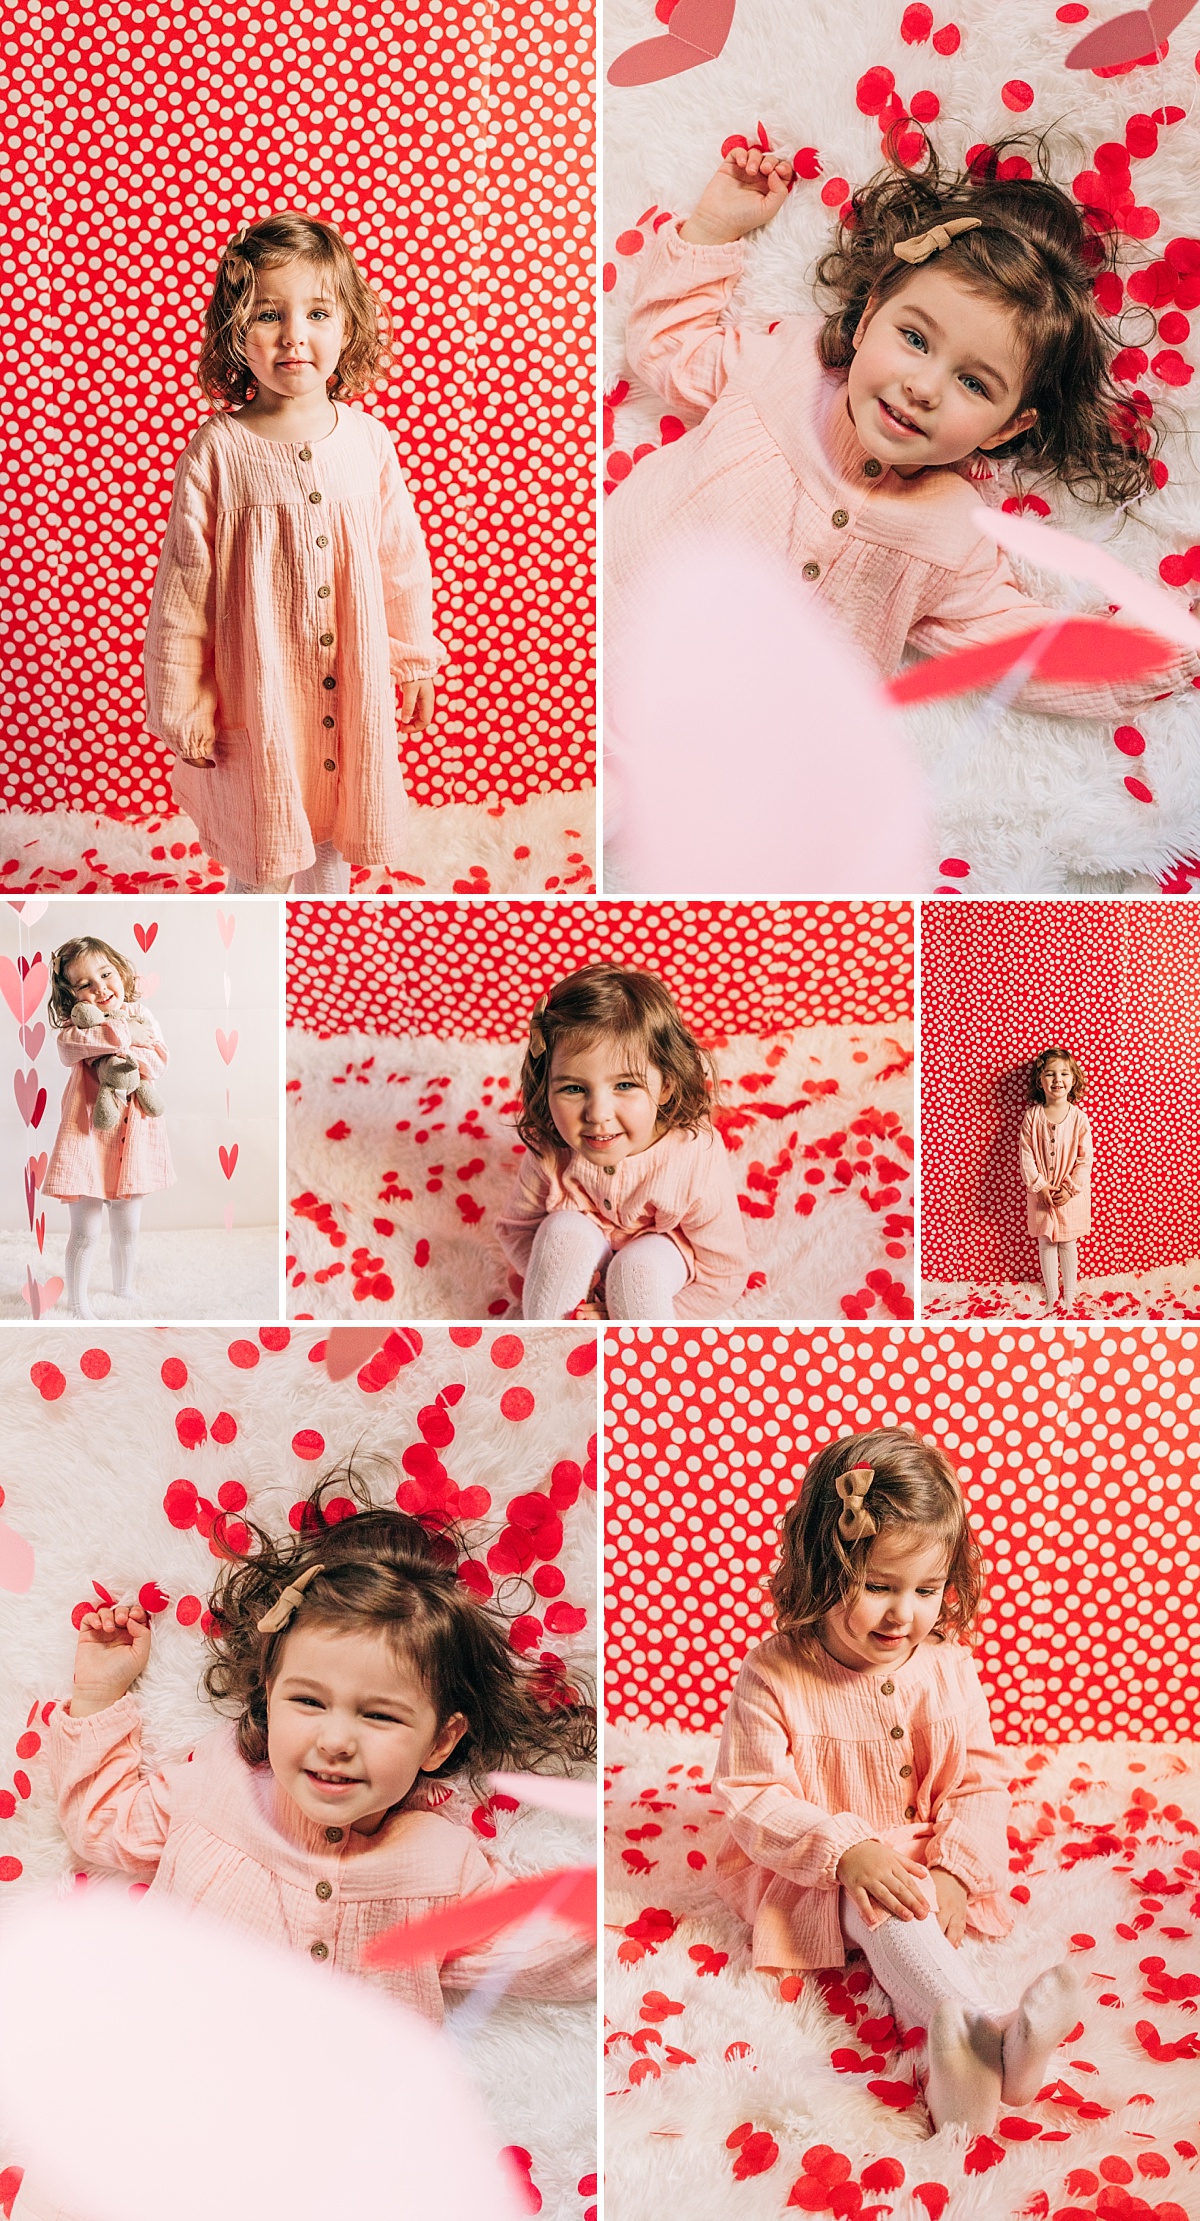
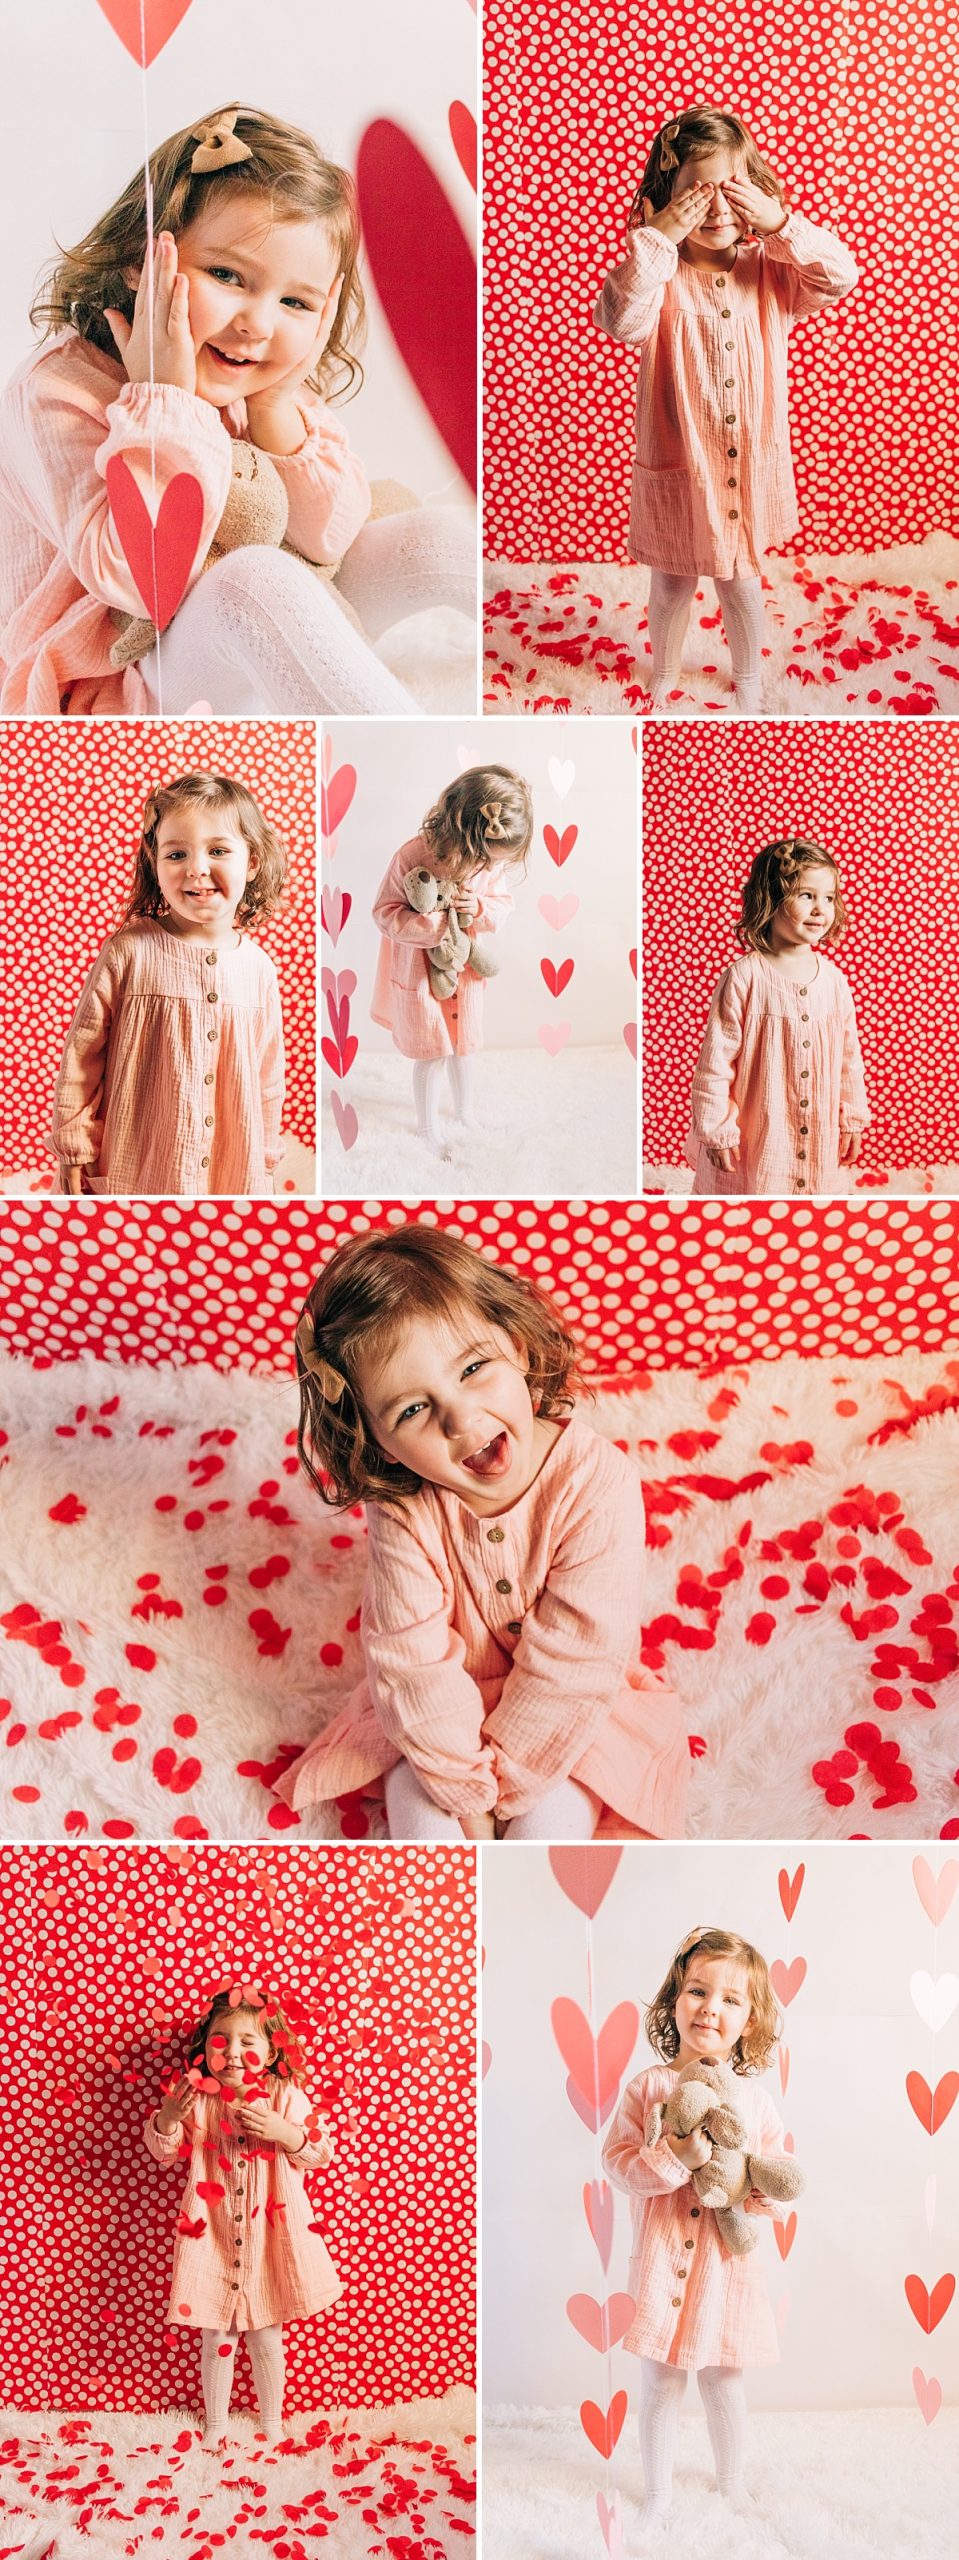
- Tape up your heart garland. I wanted to create some depth to my images so I taped them out away from the wall so Emi was standing in the middle of them. They were a little short and hung about 2 feet off the ground. Since Emi is only about 3 ft tall and I wanted the flowers to extend to the floor I used some black twine to make the garlands longer. You could also tape these against the wall for a wall of hearts or cut your own hearts using red and pink construction paper. I also originally wanted to make a red pom pom garland but ran out of time. Moral of the story, decorate your space however you want!
- Lay down your blanket if you’re using one and add your reflector.
After I started shooting I realized I hadn’t gone high enough with my butcher paper so I went back and added another row. If you don’t want to be doing ton’s of cropping, cover more area than you think you need to to make sure you don’t catch the edges in your pictures.
Cell Phone Photography
Cell phones these days are amazing and the cameras just keep getting better. I still have an iphone 6 so my cell phone camera still kind of sucks (I’m still just at 8mgpx) but I bet yours is at least 12mgpx and you have portrait mode! Definitely turn on portrait mode for your DIY Valentine’s Day Mini Session.
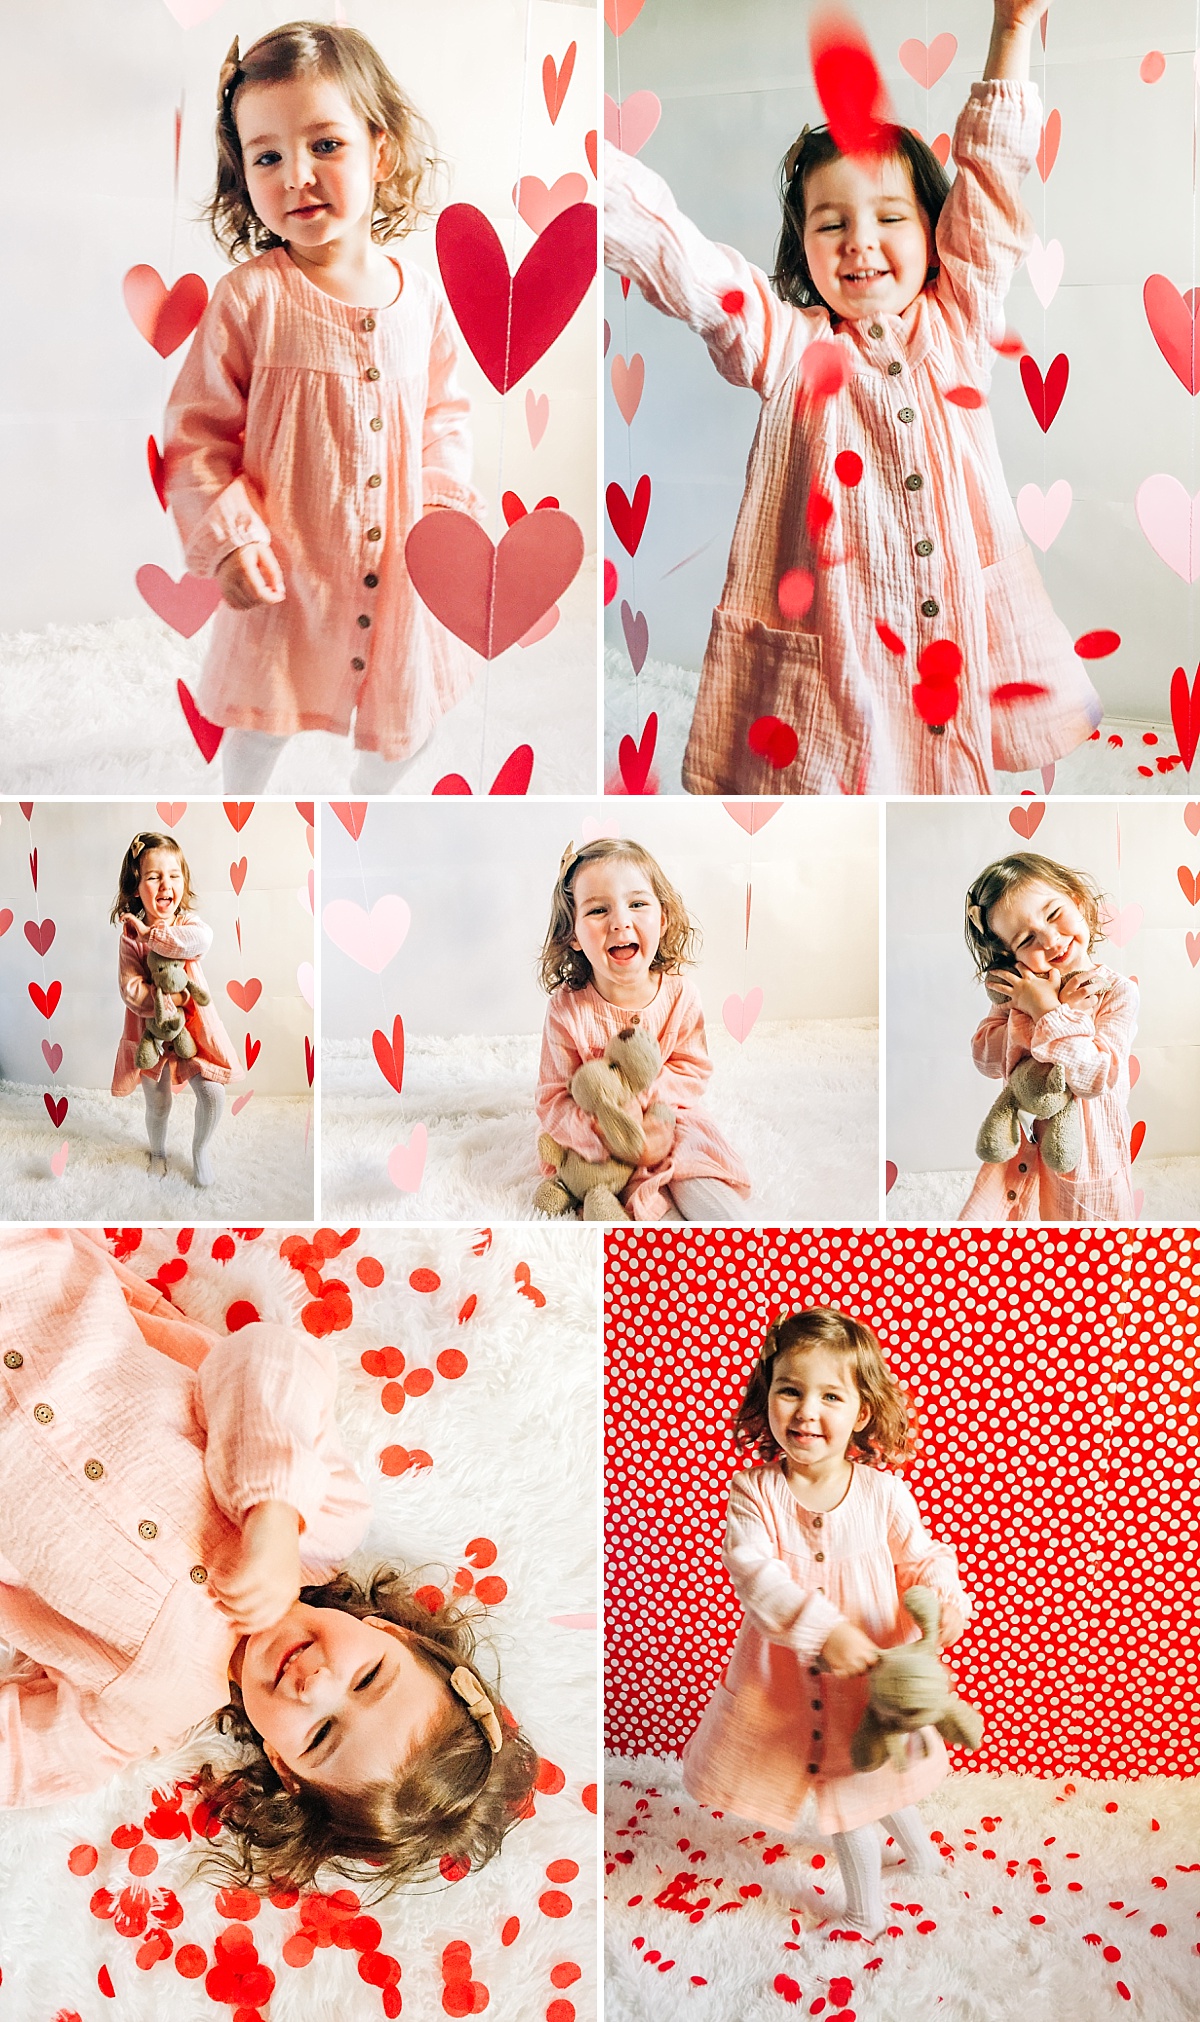
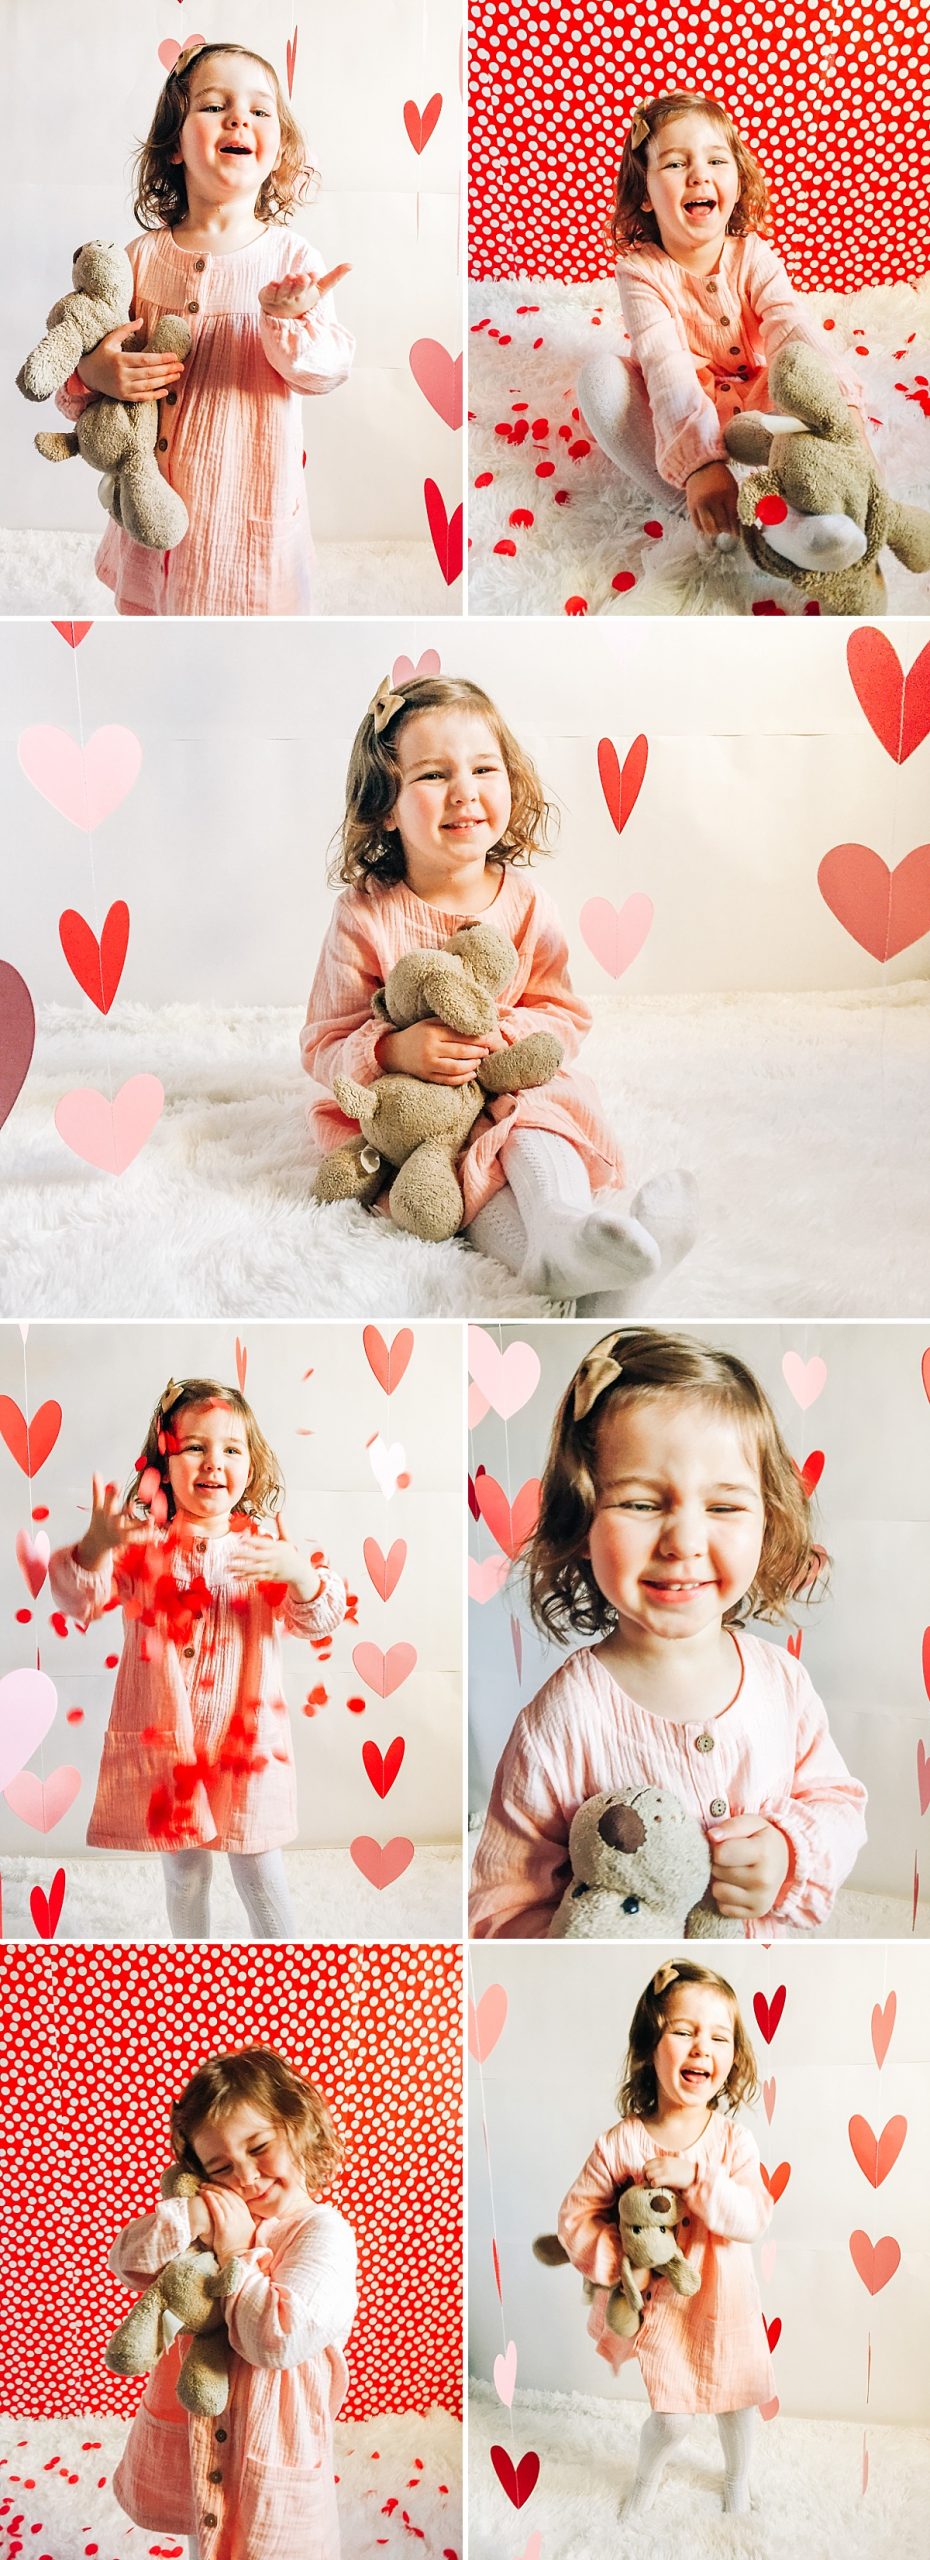
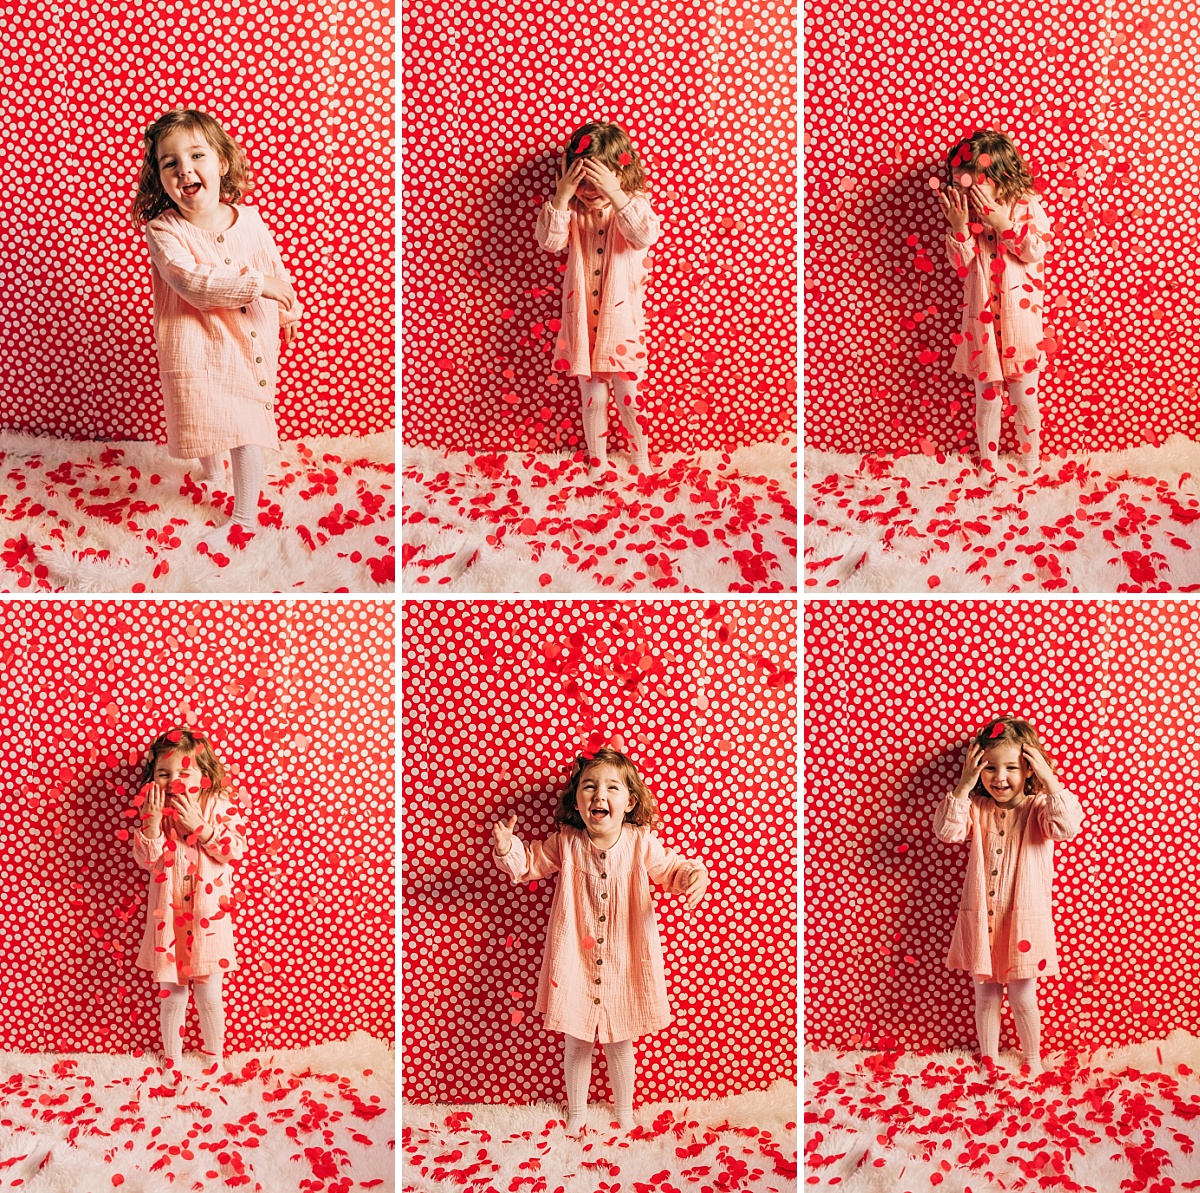
I recommend starting out with some simple “look and smile” pictures while you and your kids get warmed up. Right now I get the best smiles from Emi when I tell her to giggle! She gives me the cutest little laugh and then smiles big right after!
If they have a favorite toy let them take a picture with it! Piper (the stuffed dog) is in most of Emi’s pictures these days and I love it because she never goes anywhere without her anyways. I’m always going to love looking back at these pictures and remembering her attachment to that little dog.
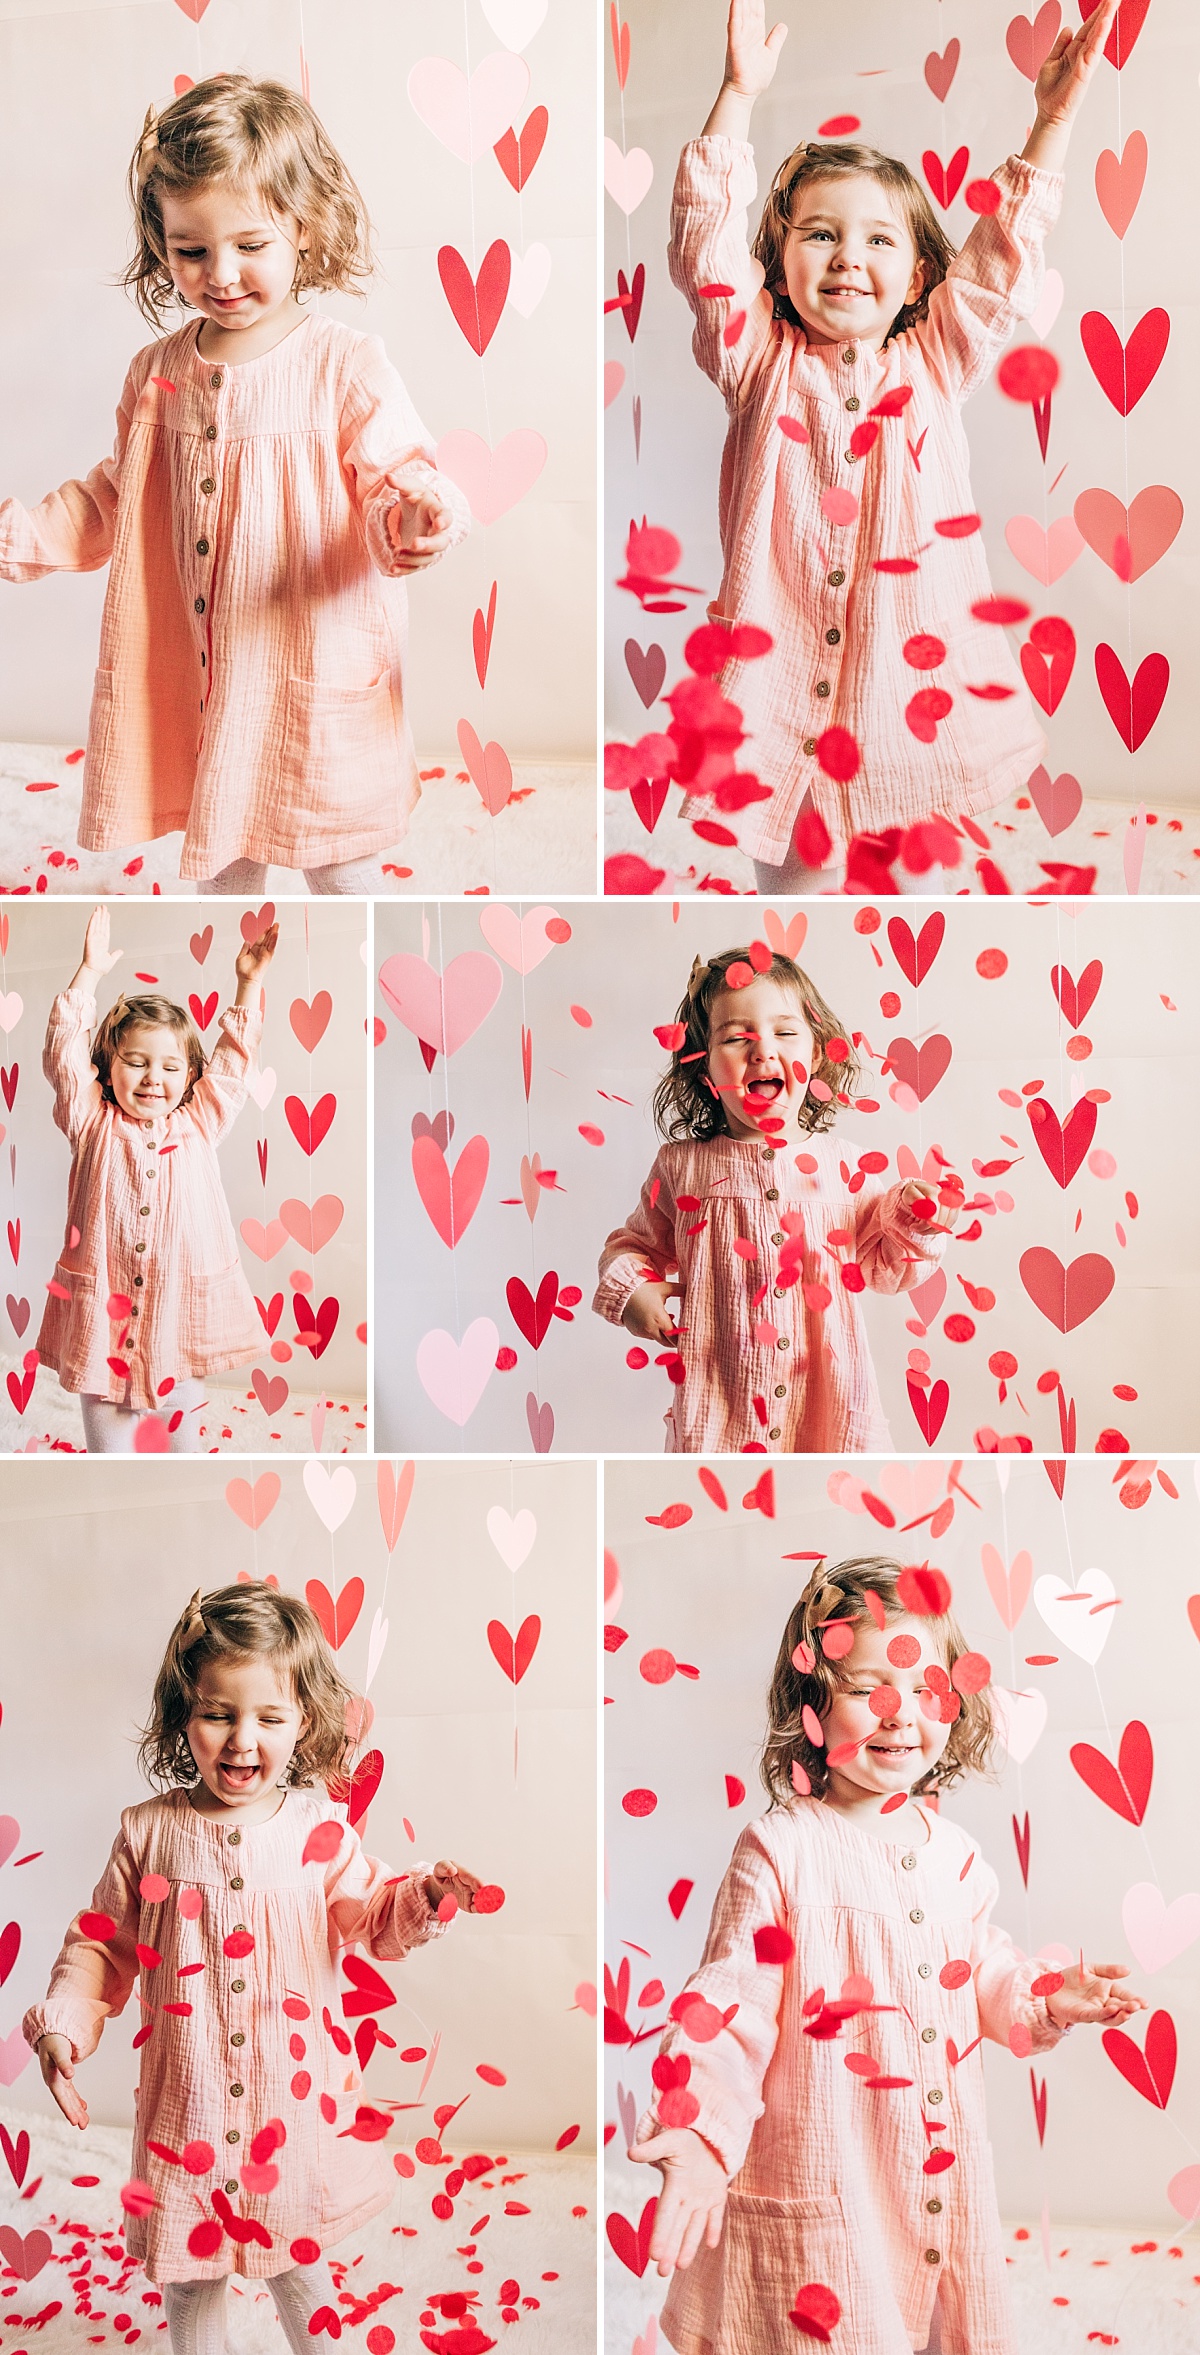
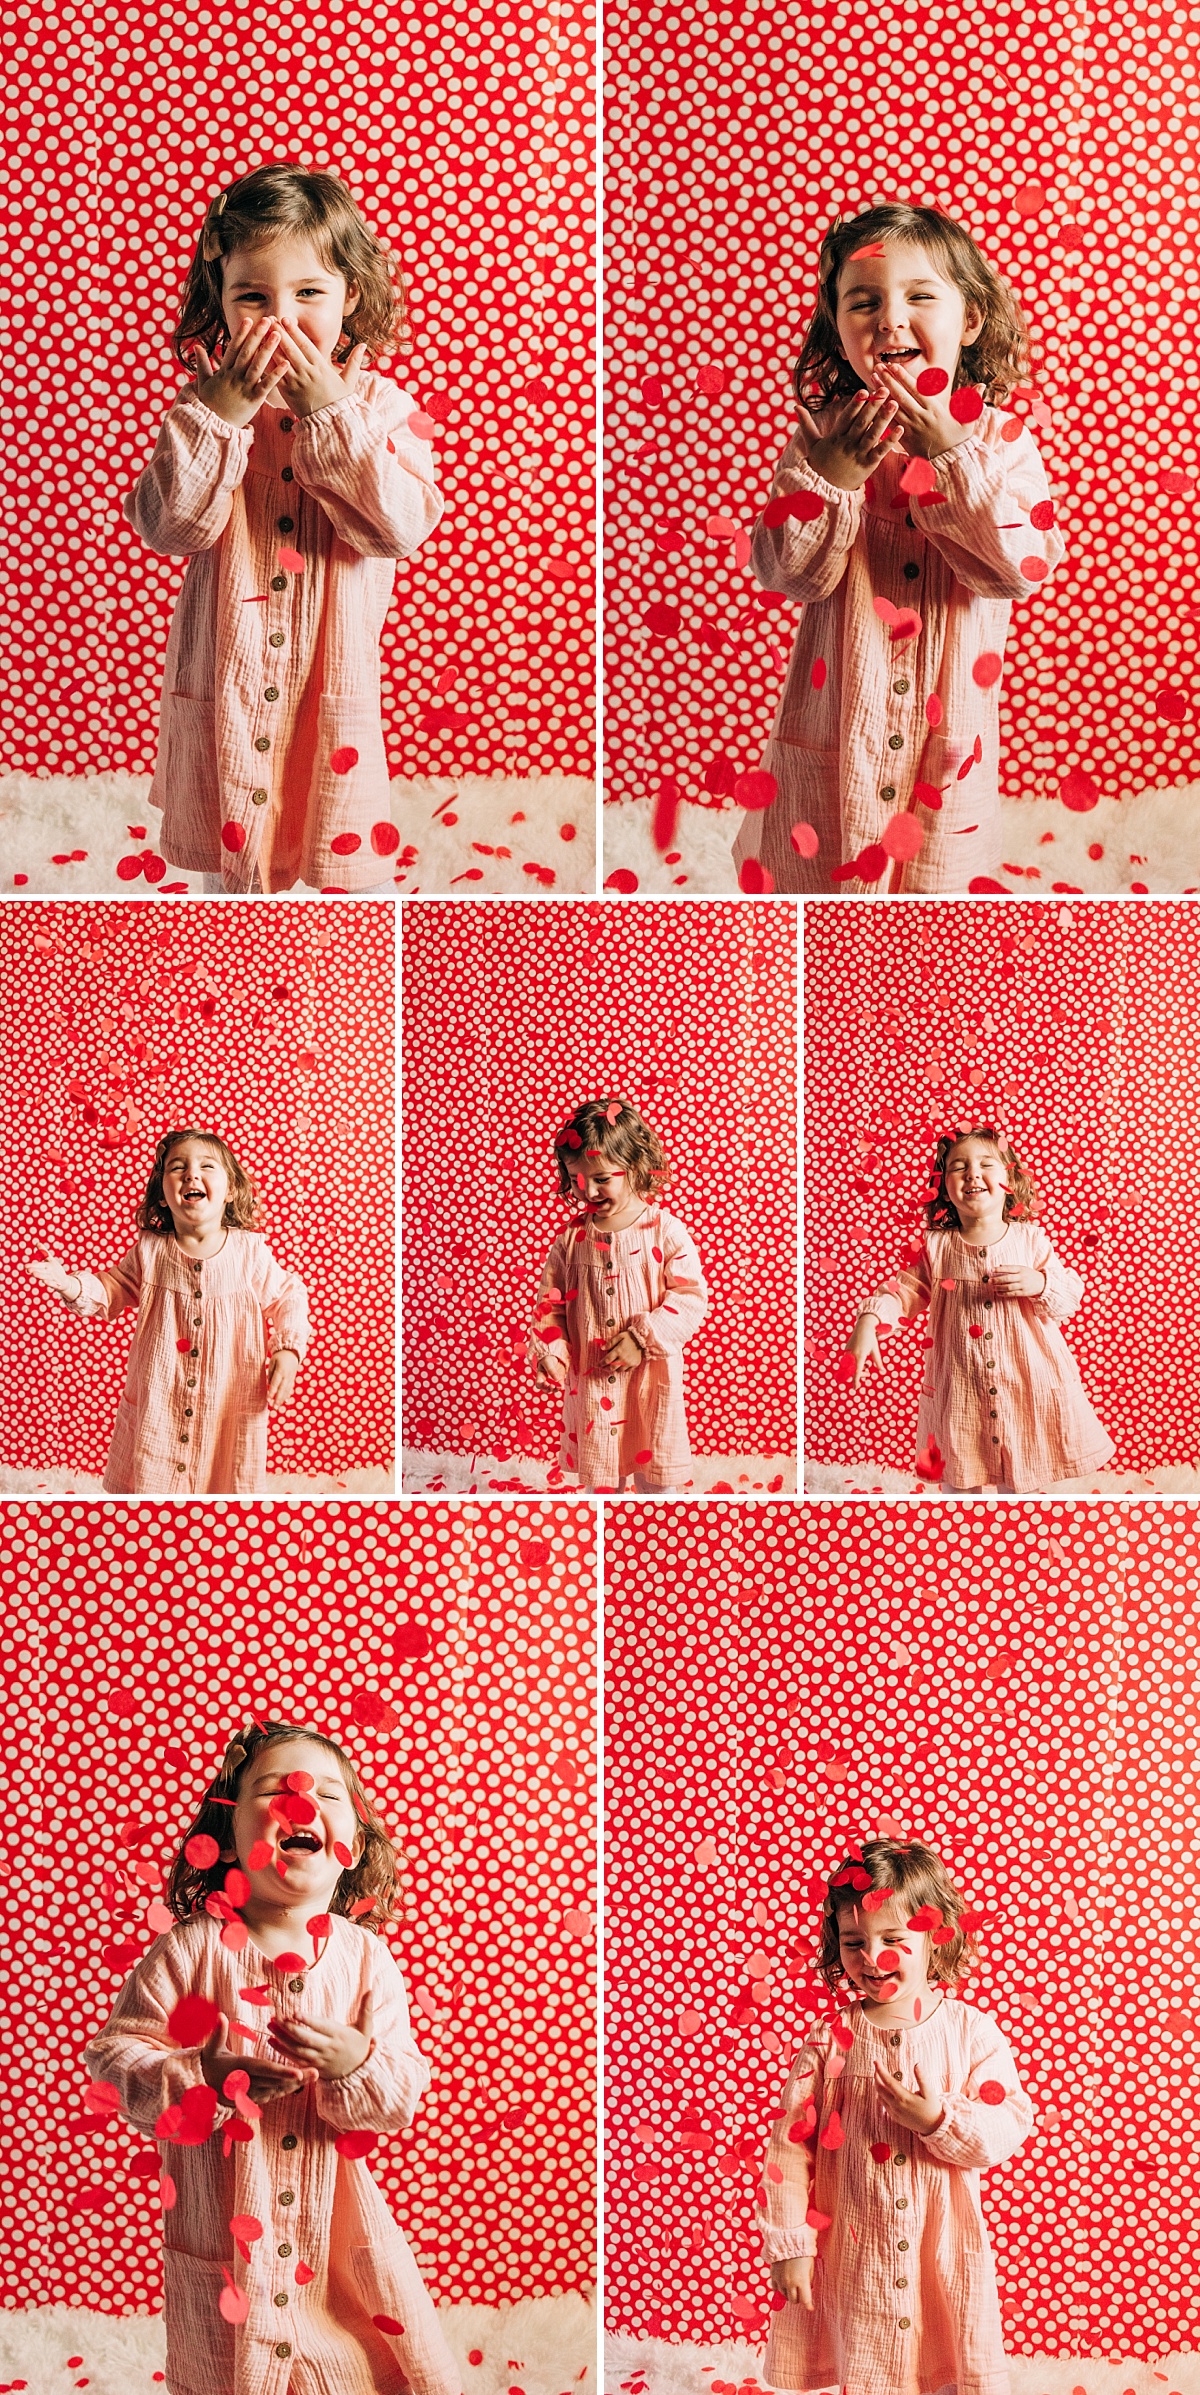
Next, if you little one is old enough, you can give them a small handful of confetti and then count 1, 2, 3, and let them throw it into the air. Make sure your cell phone camera is ready and snap, snap, snap like crazy to catch all that falling confetti. Emi thought this was so much fun and would have taken pictures all day if I kept letting her throw Confetti. Because I used the blanket I was able to gather most of it back up after the session to save for later.
Editing Your Images
Once you’ve taken all your pictures, I recommend using the Lightroom Mobile app to edit. My standard adjustments include bringing up the exposure and contrast and warming things up. If you’re not sure what that means I’ll try to write a tutorial soon or there are tons of great presets you can buy and use on all your images for great results. Truly Photography has a great set of presets and I definitely recommend them if you want one click edits!
Share your DIY Valentine’s Day Mini Sessions on social media and use the hashtag #DIYMarenElizabethPhoto so I can see!!!
DIY Valentine’s Day Mini Sessions with a DSLR
Like I said, my cell phone camera isn’t all that great so I couldn’t resist snapping a few with my DSLR too. I had to up my ISO to around 1000 because it was still a little dark even when I was shooting wide open at 2.8f. To capture all that falling confetti I was at 1/250 shutter speed.
I’d love to work with you! Please contact me to book your family session! To view more of my work and stay up to date, follow me on Instagram.